If you’re unsure what 3d printing and 3d design is all about, I just wanted to share a quick project I built yesterday. You see, dear reader, I have what is commonly referred to as a Charlie Brown-sized head. It doesn’t help matters when I grow my hair long, since I have a Robert Plant-esque type of salad (yes, that’s a pretty funny visual, but it’s one I live with every day. I should start a gofundme).


Anyway, as I navigate this life, this particular cranio-oddity has come into play on a few occasions. Not long ago I bought some inexpensive wireless headphones that worked really, really well for what I needed: Listen to music while coding and avoid getting tangled up in cords. Pretty simple use case, right? They never fit 100% perfectly, but did the job and I was happy. well a few days ago I went to clap them over my prodigious dome and guess what? SNAP.
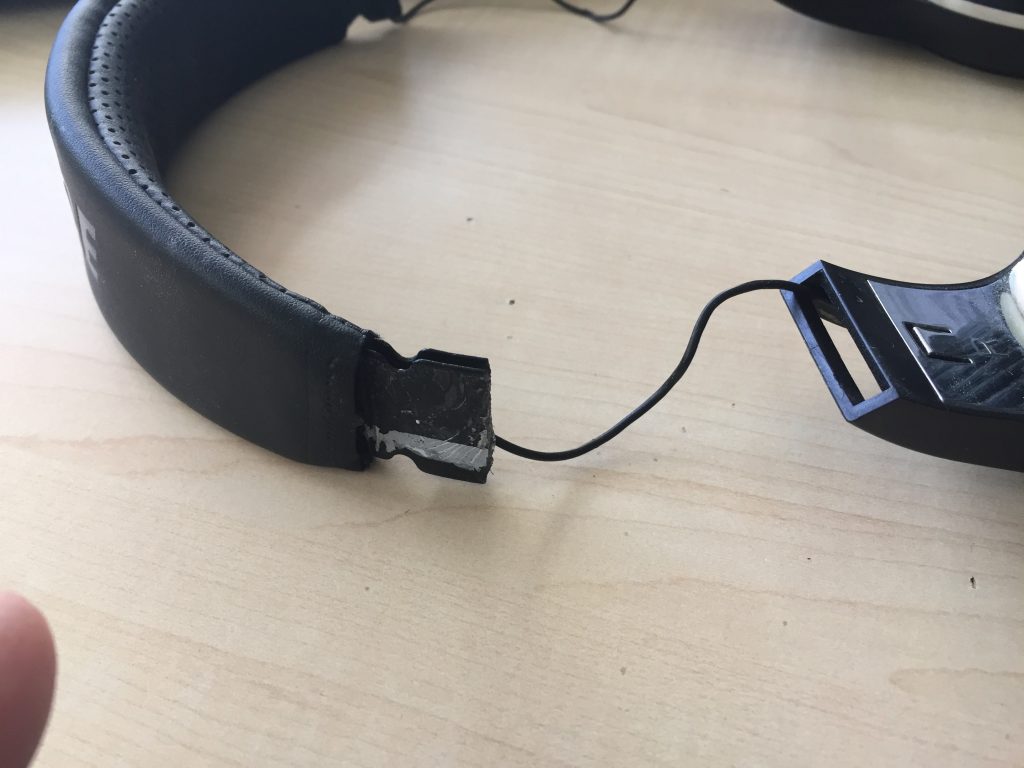
Sunsab*tches broke off right above my ear, no doubt because I had to stretch them too far, too many times, over the basketball that lives on top of my neck. Well I decided I wasn’t going to be defeated. 3d Printing to the rescue.
I recently upgraded my 3d printing situation and bought a Creality Ender 3 for the whopping sum of $180, new. No idea why it was marked down another $40 below the silly cheap price of $220. The cool part is that you get to (have to) put it together. I’ve been printing lots of little useful parts and I can’t believe the quality of this thing. I decided it was time to test it by designing a fix for these headphones.
I am a big fan of Tinkercad because it’s so very easy to use and has incredible power since it was designed for 3d printing stuff. Conversely, Blender is absolutely one of the most amazing software applications ever created, but has a very difficult time with real-world measurements. You can design the most bad-ass, incredible monster you could ever dream up, but if you need a simple part with 1mm tolerance in size, it’s a biatch.
So I got out the ol’ micrometer and measured the broken-off nub and cooked up a fix, literally in 15 minutes in Tinkercad:
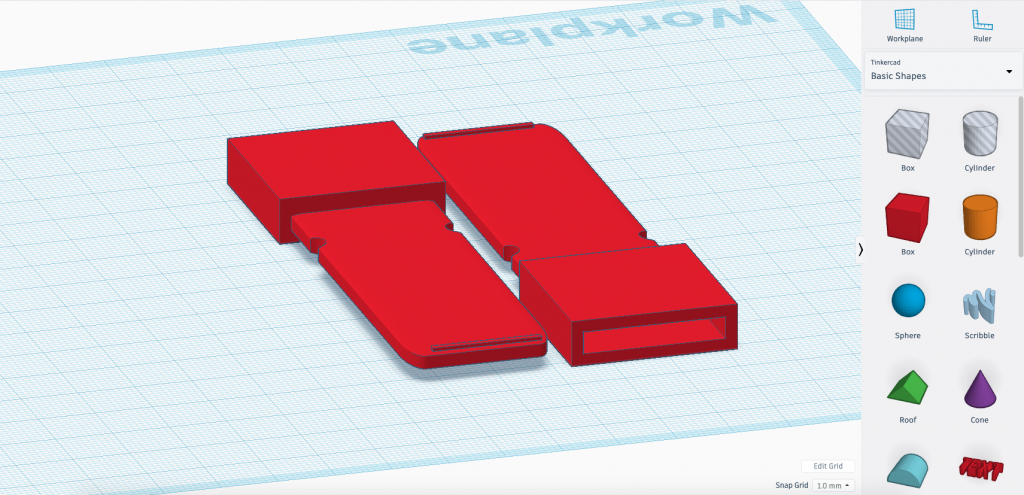
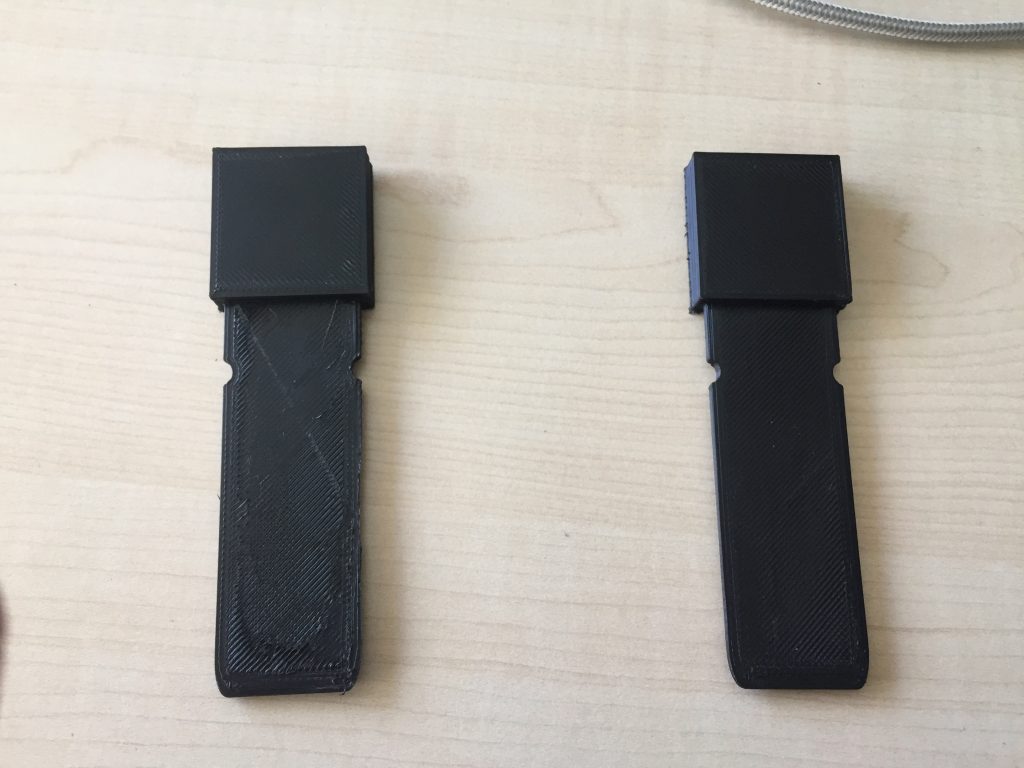
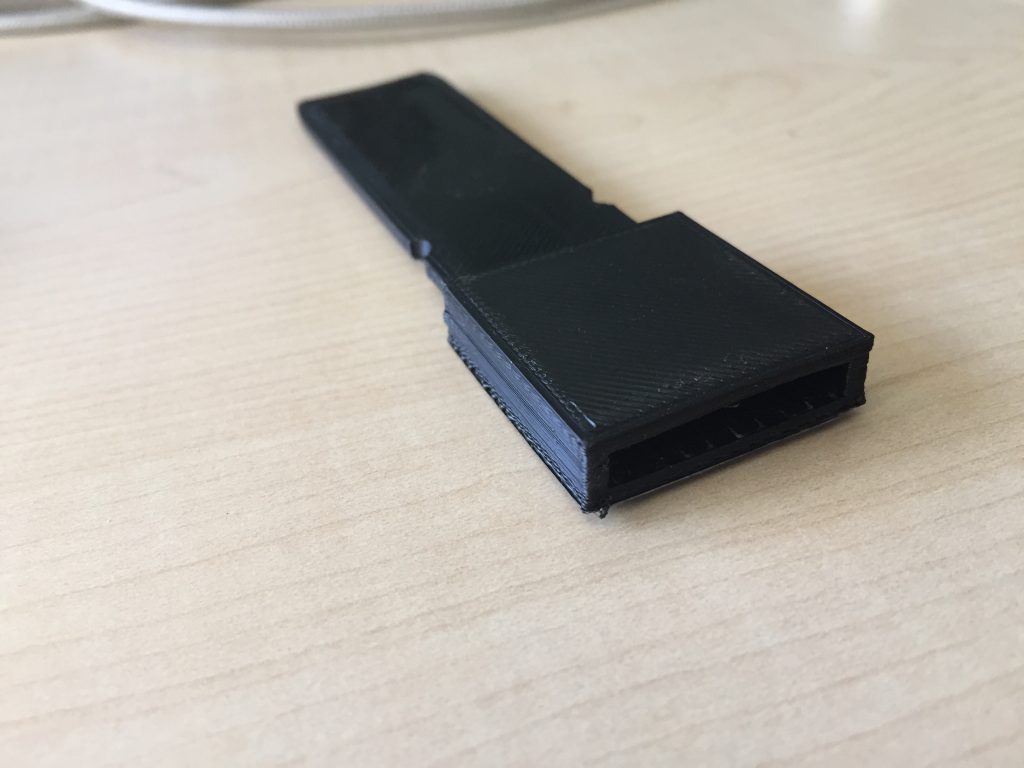
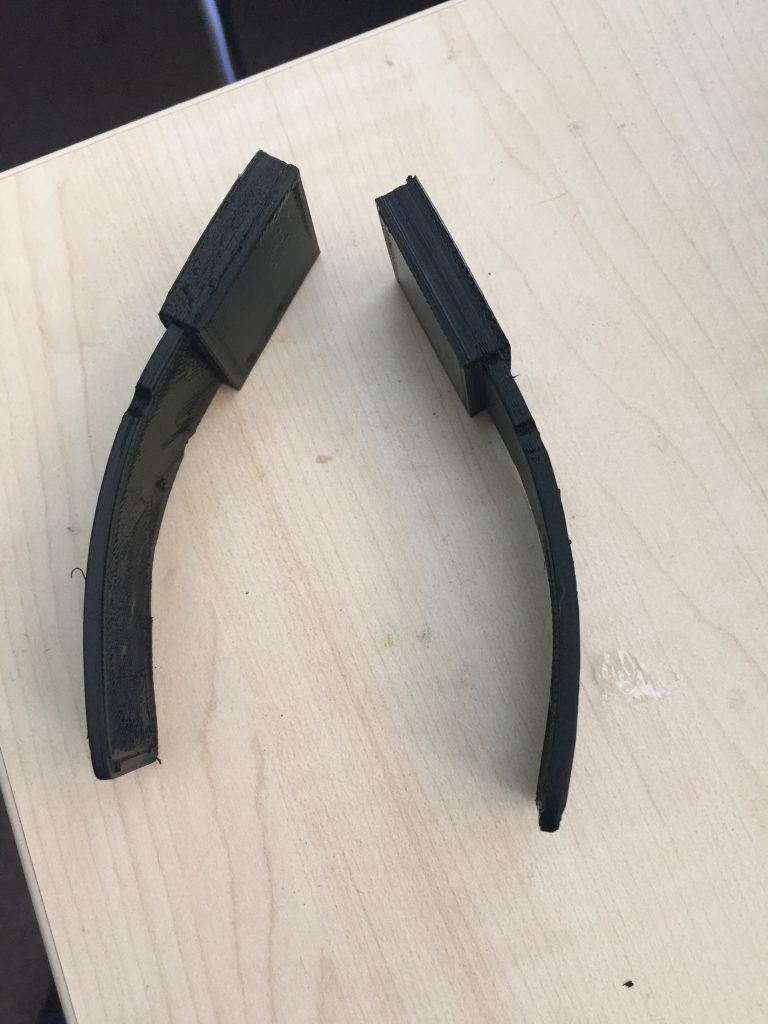
The nub slides into that larger hollow square and the extension piece slides into the adjustable part of the headphones. Since I knew I’d snap off the other side eventually, I went ahead and printed both sides and then cut the other side off so it would match (and I would finally have headphones that fit!). For you nerds out there, I printed these on black ABS with a .2 nozzle, 60% infill and sliced with the astoundingly awesome Cura slicer. Behold:
The final thing was to come up with a way to bend the parts so they would cup over my ears, instead of sticking out like dog ears. Yes, I could have designed and printed them curved, but I was impatient and I felt like it would make them brittle. Here’s what I did. Boiled some water in a coffee cup, held them in there for about 15 or 20 seconds then bent it to shape. Alas, it worked like a charm:

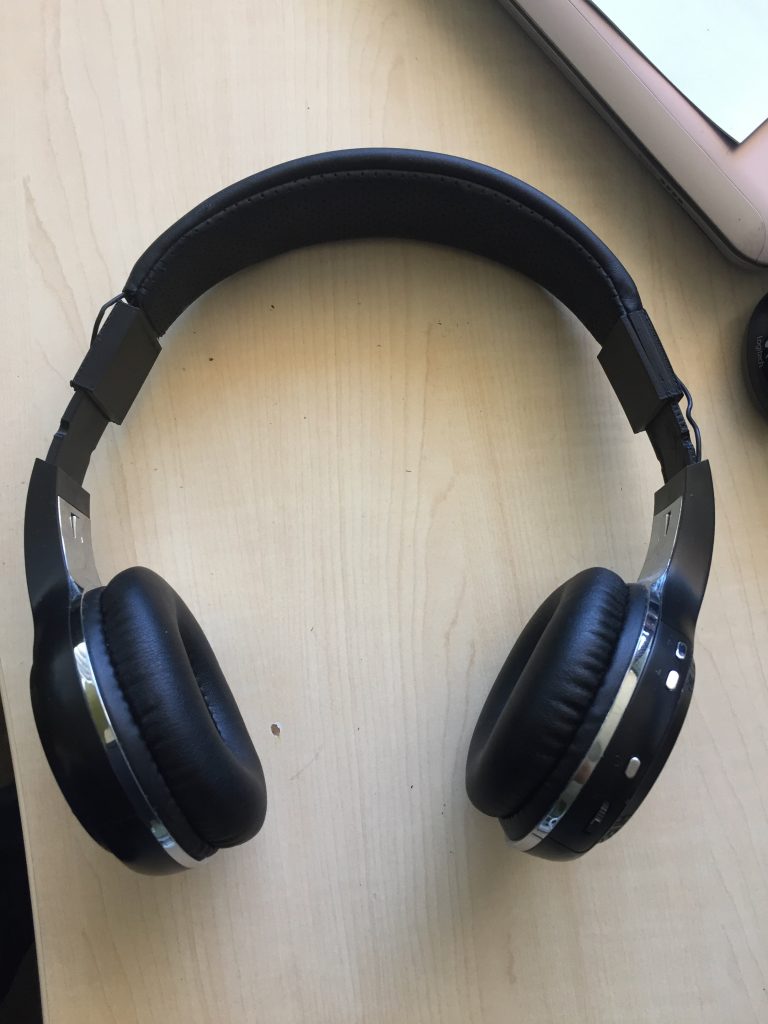
$180 printer, 15 minutes designing a part and about 40 minutes of print time and I had a virtual thing become a real thing, solving a real problem.
What a world.